

UV printers are powerful tools in the applied graphics industry—but without proper maintenance, even the best machines can suffer from poor print quality, clogging, and costly downtime.
If you’re running a UV flatbed or wide format printer, regular cleaning isn’t optional—it’s essential.
This guide walks you through how to maintain a UV printer, including monthly cleaning routines, deep cleaning practices, and expert tips to extend the life of your equipment.
What Is UV Printer Maintenance? (Quick Answer)
UV printer maintenance is the routine cleaning and care of key printer components—like printheads, UV lamps, and flatbeds—to prevent ink buildup, ensure consistent curing, and maintain high-quality output.
Why UV Printer Maintenance Matters
UV printing relies on precise ink placement and immediate curing. Even small amounts of dried ink or dust can cause:
- Banding or streaks in prints
- Nozzle clogging
- Inconsistent curing from UV lamps
- Reduced printhead lifespan
- Costly repairs and downtime
For shops using wide format or UV flatbed printers, maintenance directly impacts productivity and profitability.
UV Printer Cleaning Schedule (Best Practice)
To keep your printer running smoothly, follow this simple schedule:
1. Routine Cleaning (Every Month)
- Prevents ink buildup
- Maintains print quality
- Quick and essential upkeep
2. Deep Cleaning (Every 3 Months)
- Targets hidden residue
- Improves long-term reliability
- Helps avoid major service issues
Safety First: UV Printer Cleaning Precautions
Before starting any cleaning process:
- Always wear nitrile gloves and protective goggles
- Avoid skin or eye contact with UV ink or cleaning solution
- Use lint-free materials to prevent contamination
- Never allow cleaning solution to drip onto machine surfaces (can be corrosive)
Tools & Materials for UV Printer Cleaning
Having the right supplies makes a big difference in maintenance quality.
Essential materials include:
- Lint-free cloths
- Lint-free cotton swabs
- UV-compatible cleaning solution
- Disposable nitrile gloves
- Silicone ink scraper
These are standard tools used across most UV and wide format printing workflows, and keeping them stocked is part of a well-run print shop.
Step-by-Step: Monthly UV Printer Cleaning Process
This routine focuses on high-risk areas where ink and dust accumulate.
Step 1: Prepare the Printer
Before cleaning:
- Ensure the printer is idle and powered safely
- Move the printhead along the X-axis (near the camera or access area)
- Adjust the Y-axis forward to create working space
Why this matters: Proper positioning prevents accidental damage and gives you safe access to sensitive components.
Step 2: Clean the UV Lamp Surface
The UV lamp is critical for curing ink instantly. Any residue can reduce curing efficiency.
How to clean:
- Lightly moisten a lint-free swab with cleaning solution
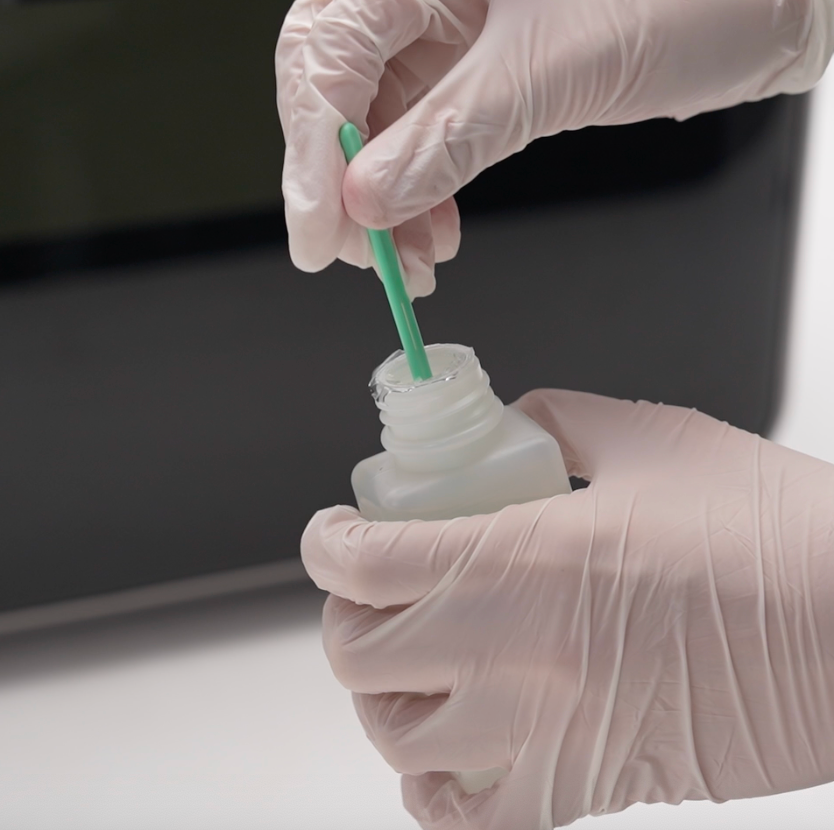
- Gently wipe the entire UV lamp surface
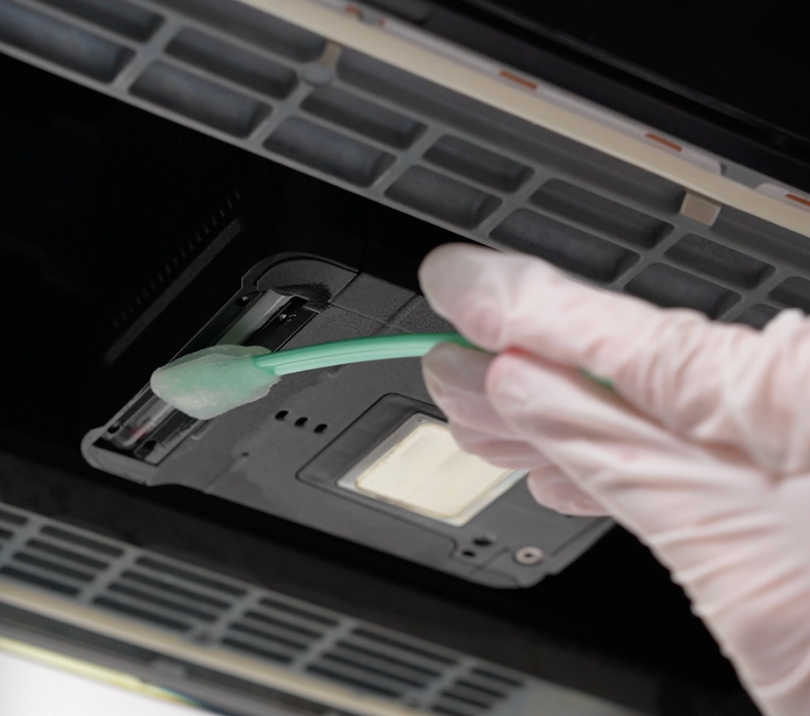
Remove all visible ink or residue.
- Dry with a clean lint-free cloth
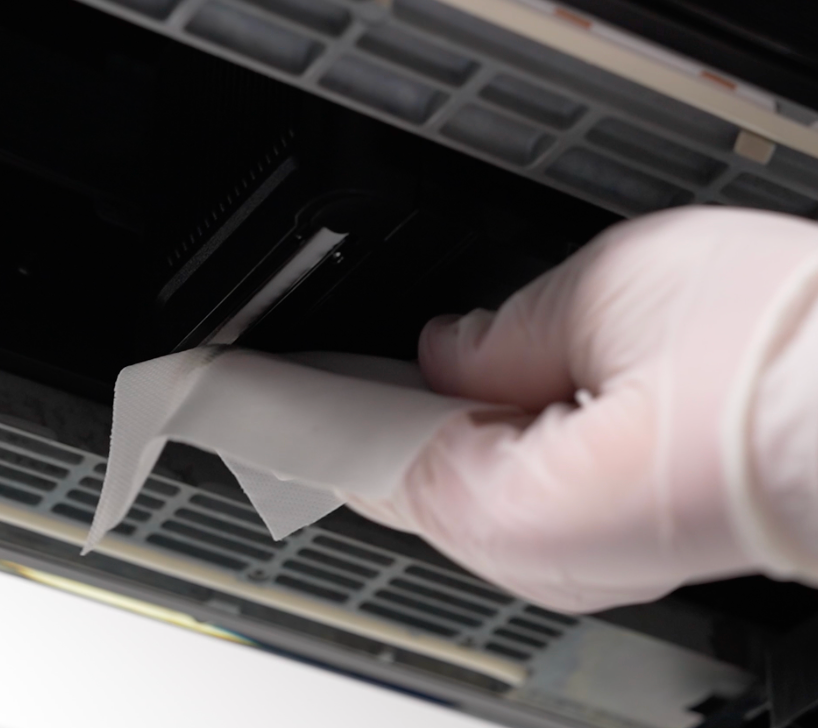
Pro Tip: A dirty UV lamp can lead to under-cured prints, which may feel tacky or scratch easily.
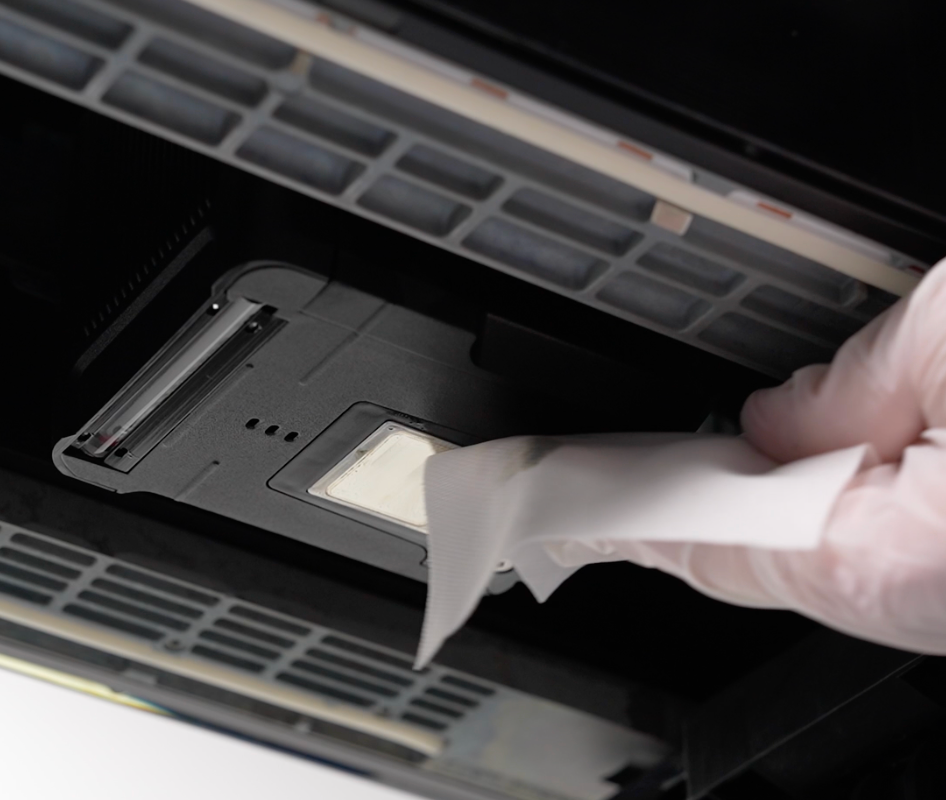
Step 3: Clean Around the Printhead
Ink splatter around the printhead can affect precision and airflow.
How to clean:
- Use a lightly moistened lint-free swab
- Carefully wipe around (not on) the printhead. Repeat until clean
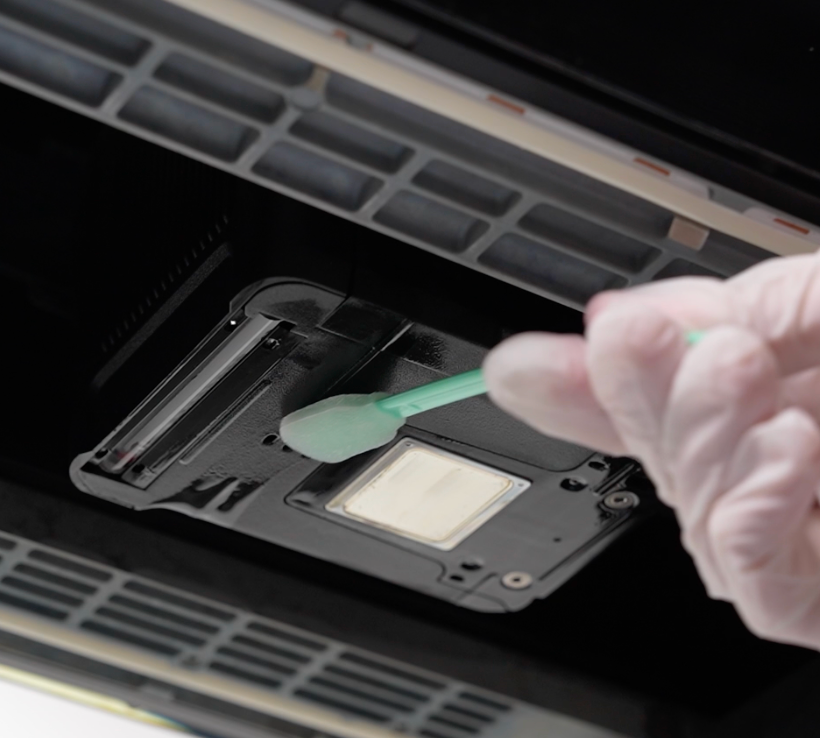
- Dry thoroughly with a lint-free cloth
⚠️ Important:
Do NOT apply cleaning solution directly to the nozzle plate unless specified by the manufacturer.
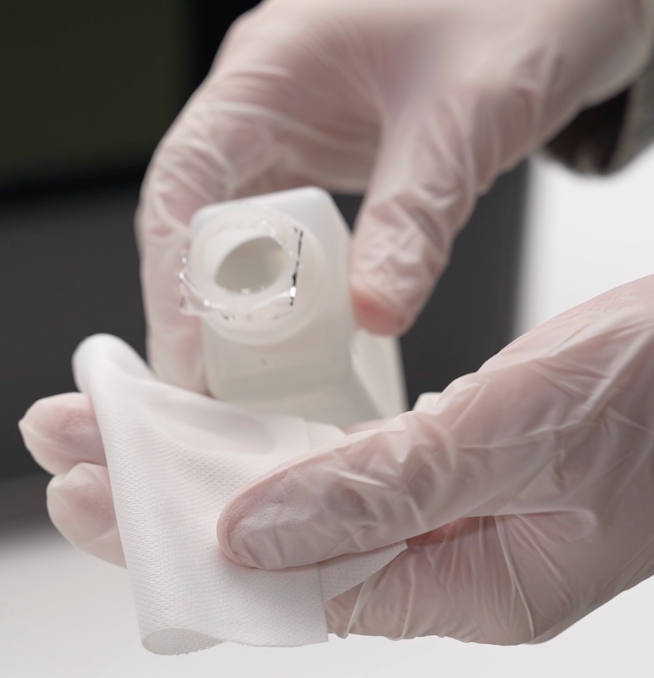
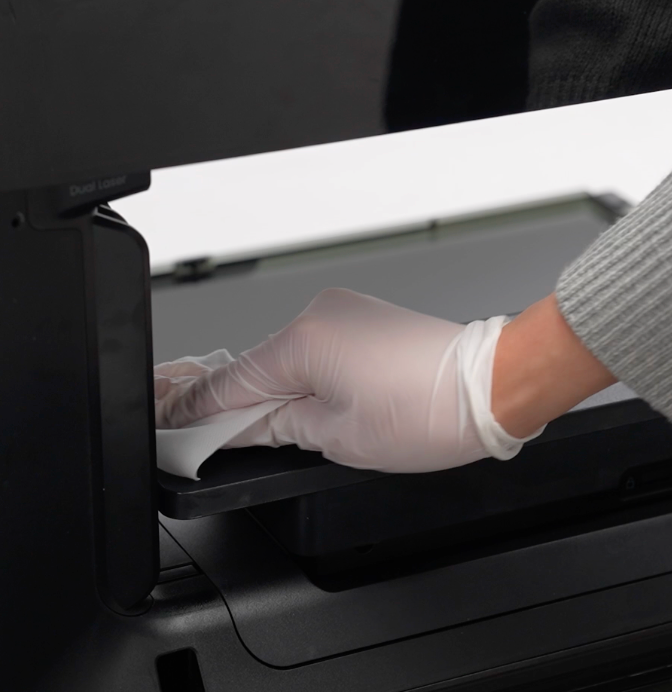
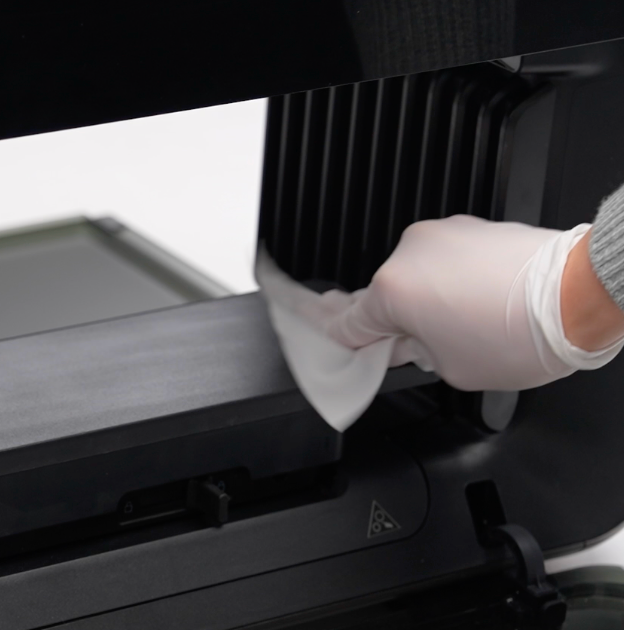
Step 4: Clean the Flatbed Surface
The flatbed is where substrates sit—any debris can affect adhesion and print accuracy.
Cleaning process:
- Use a lint-free cloth with cleaning solution
- Wipe the entire surface evenly
- Remove excess solution with a dry cloth
Why this matters:
Dust or ink residue can cause uneven prints or misalignment, especially in precision applications like signage or rigid media printing.
Step 5: Clean the Printhead Station
The printhead station (capping station) plays a key role in keeping nozzles functional.
Focus areas:
- Scraper blade
- Ink pad
Steps:
- Use a swab with cleaning solution
- Remove all visible ink buildup
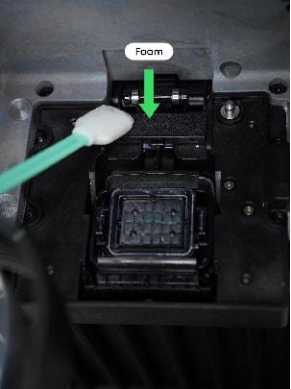
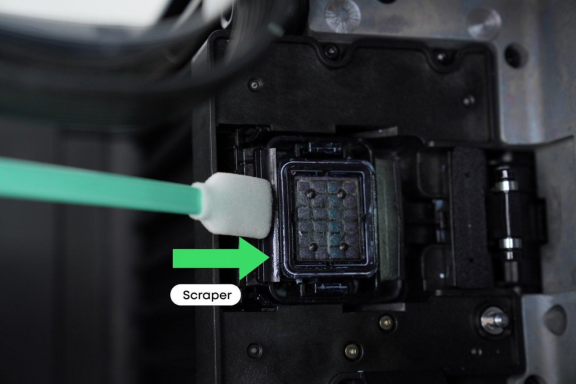
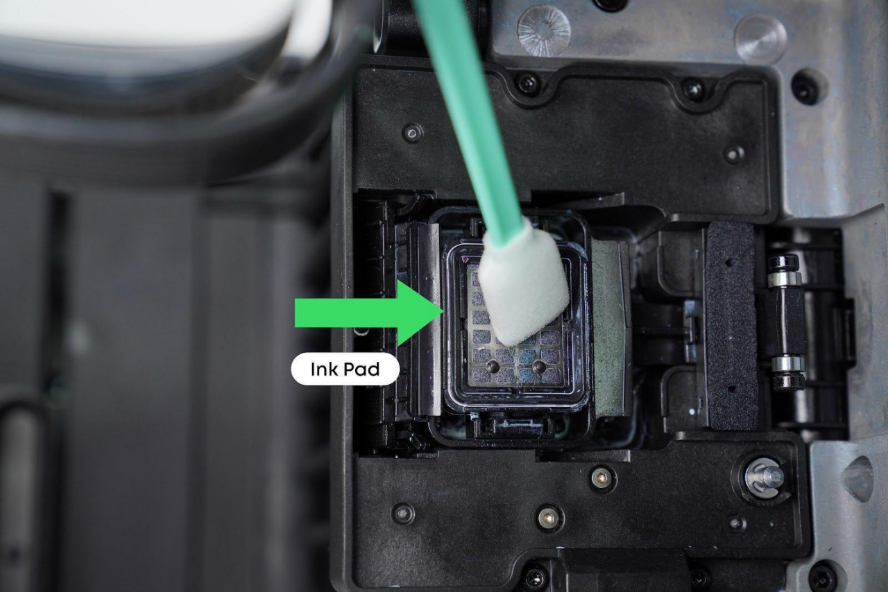
- Ensure components are clean and functional
⚠️ Critical Warning:
Avoid touching the encoder strip—this can cause calibration errors and affect print accuracy.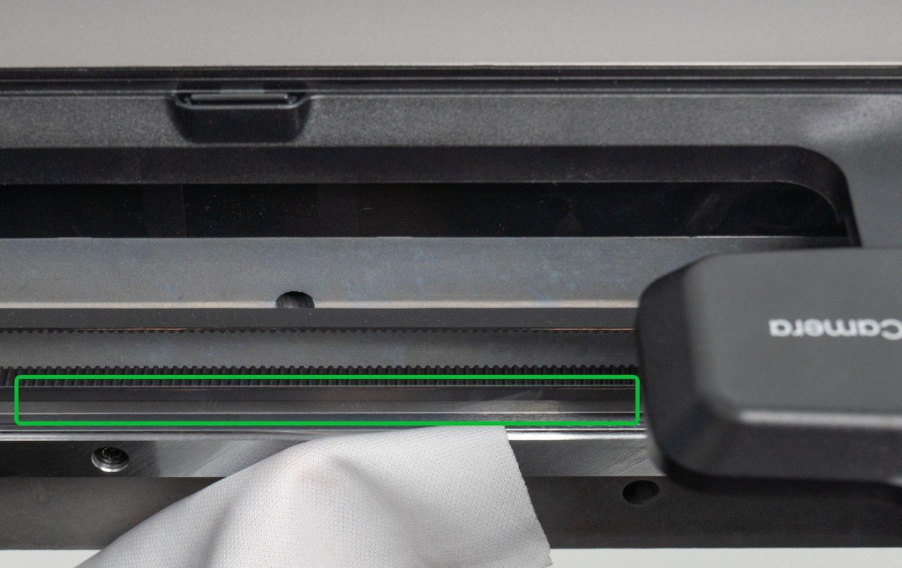
Common UV Printer Maintenance Mistakes to Avoid
Even experienced operators make these errors:
1. Overusing Cleaning Solution
Too much liquid can damage components or spread contaminants.
2. Cleaning the Nozzle Incorrectly
Improper cleaning can permanently damage the printhead.
3. Ignoring Dust Control
Dust is just as harmful as ink buildup—especially in wide format environments.
4. Skipping Regular Maintenance
Waiting too long leads to expensive repairs and downtime.
5. Using Non-Lint-Free Materials
Regular cloths leave fibers that clog nozzles.
Pro Tips for Better UV Printer Performance
Keep a Maintenance Log
Track when cleanings are performed to stay consistent.
Maintain a Controlled Environment
- Low dust
- Stable temperature
- Proper humidity
Use Quality Supplies
Professional-grade cleaning materials (like those used in GPI Supplies workflows) reduce risk and improve results.
Inspect Before Problems Occur
A quick visual check can prevent major issues.
UV Printer Maintenance vs. Other Printing Systems
| Feature | UV Printers | Solvent Printers | Latex Printers |
|---|---|---|---|
| Ink Type | UV-curable | Solvent-based | Water-based |
| Cleaning Frequency | Moderate | High | Moderate |
| Sensitivity to Dust | High | Medium | Medium |
| Printhead Risk | High | Medium | Medium |
Key takeaway:
UV printers require precise but manageable maintenance—especially around curing and ink buildup.
When to Perform Deep UV Printer Cleaning
Every 3 months, a deeper cleaning should include:
- Internal ink system checks
- Thorough capping station cleaning
- Advanced printhead maintenance (per manufacturer guidelines)
- Inspection of curing systems
If your shop runs high-volume production, you may need to do this more frequently.
Final Thoughts: Consistency Is Everything
UV printer maintenance isn’t complicated—but it must be consistent.
A simple monthly routine can:
- Extend your printer’s lifespan
- Improve print quality
- Reduce downtime
- Save money on repairs
For growing print shops and professionals in applied graphics, mastering maintenance is just as important as mastering print settings.
7. FAQ Section
How often should you clean a UV printer?
You should perform routine cleaning once a month and deep cleaning every 3 months, depending on usage.
Can I clean a UV printhead manually?
Only with extreme care and according to manufacturer guidelines. Improper cleaning can damage the nozzle permanently.
What happens if you don’t maintain a UV printer?
You may experience clogging, poor print quality, curing issues, and expensive repairs.
What is the best cleaning solution for UV printers?
Use a manufacturer-approved UV ink cleaning solution designed for your specific printer model.
Why is my UV print not curing properly?
A dirty UV lamp or incorrect maintenance can reduce curing efficiency, causing tacky or smudged prints.
Can dust affect UV printing?
Yes. Dust can interfere with ink adhesion, print accuracy, and overall output quality.
How do I prevent UV ink buildup?
Regular cleaning, controlled environment conditions, and proper workflow practices help minimize buildup.
Recent Articles

ROLAND QUICK TIPS- How to Three-Layer Print with White Ink Using a TrueVIS LG or MG Series Printer
Subscribe to Media Posts
Recommended for You


eufyMake UV Printer E1 User Guide
Subscribe to Media Posts

What Can UV Printers Print On? (300+ Materials Guide for 2026)
Subscribe to Media Posts
Recommended for You
$200

