Part Number J1044060
- Prepare the Cleaning Jig:
- Insert the cleaning pads into the designated areas of the head cleaning jig. Ensure they are seated flat and secure.
- Using the dropper, apply Ricoh Cleaning Liquid Type 1 to the cleaning pads, focusing on the areas that will contact the edges of the print heads.
- On the printer's control panel, navigate to the Maintenance tab.
- Select Jig Head Maintenance.
- Choose the carriage to clean (White or Color) based on the maintenance prompt.
- Press Cleaning to begin the process.
- Position the Cleaning Jig:
- The printer's table will lower to the jig loading position.
- Once the table stops moving, place the prepared cleaning jig onto the front of the table base, ensuring it sits flat and is properly aligned.
- Press Start on the control panel to commence the automatic cleaning sequence, which takes approximately 7 minutes.
- Inspect the Print Heads:
- After the cleaning cycle, the table will return to its original position, and a prompt will appear to confirm the cleanliness of the heads.
- Open the printer's lid and visually inspect the print heads. While they don't need to be spotless, ensure there are no significant ink deposits.
- If necessary, gently use a dry cleaning applicator or lint-free wipe to remove any remaining ink.
- Finalize the Maintenance:
- Close the printer's lid and press OK on the control panel.
- Remove the cleaning jig from the table base.
- Note: You can flip the cleaning pads to use the other side for the next cleaning session.
- Replace the platen on the table platform.
- Perform an Auto Height Adjustment to recalibrate the printer for optimal printing.
📅 Maintenance Schedule
- White Carriage: Every 3 days
- Color Carriage: Every 10 days
Adhering to this schedule ensures consistent print quality and prolongs the life of the print heads.
[nerdy-form:16962]
YOUR CART
Free Same Day Shipping On All Supplies!
Loading...
Customers also bought

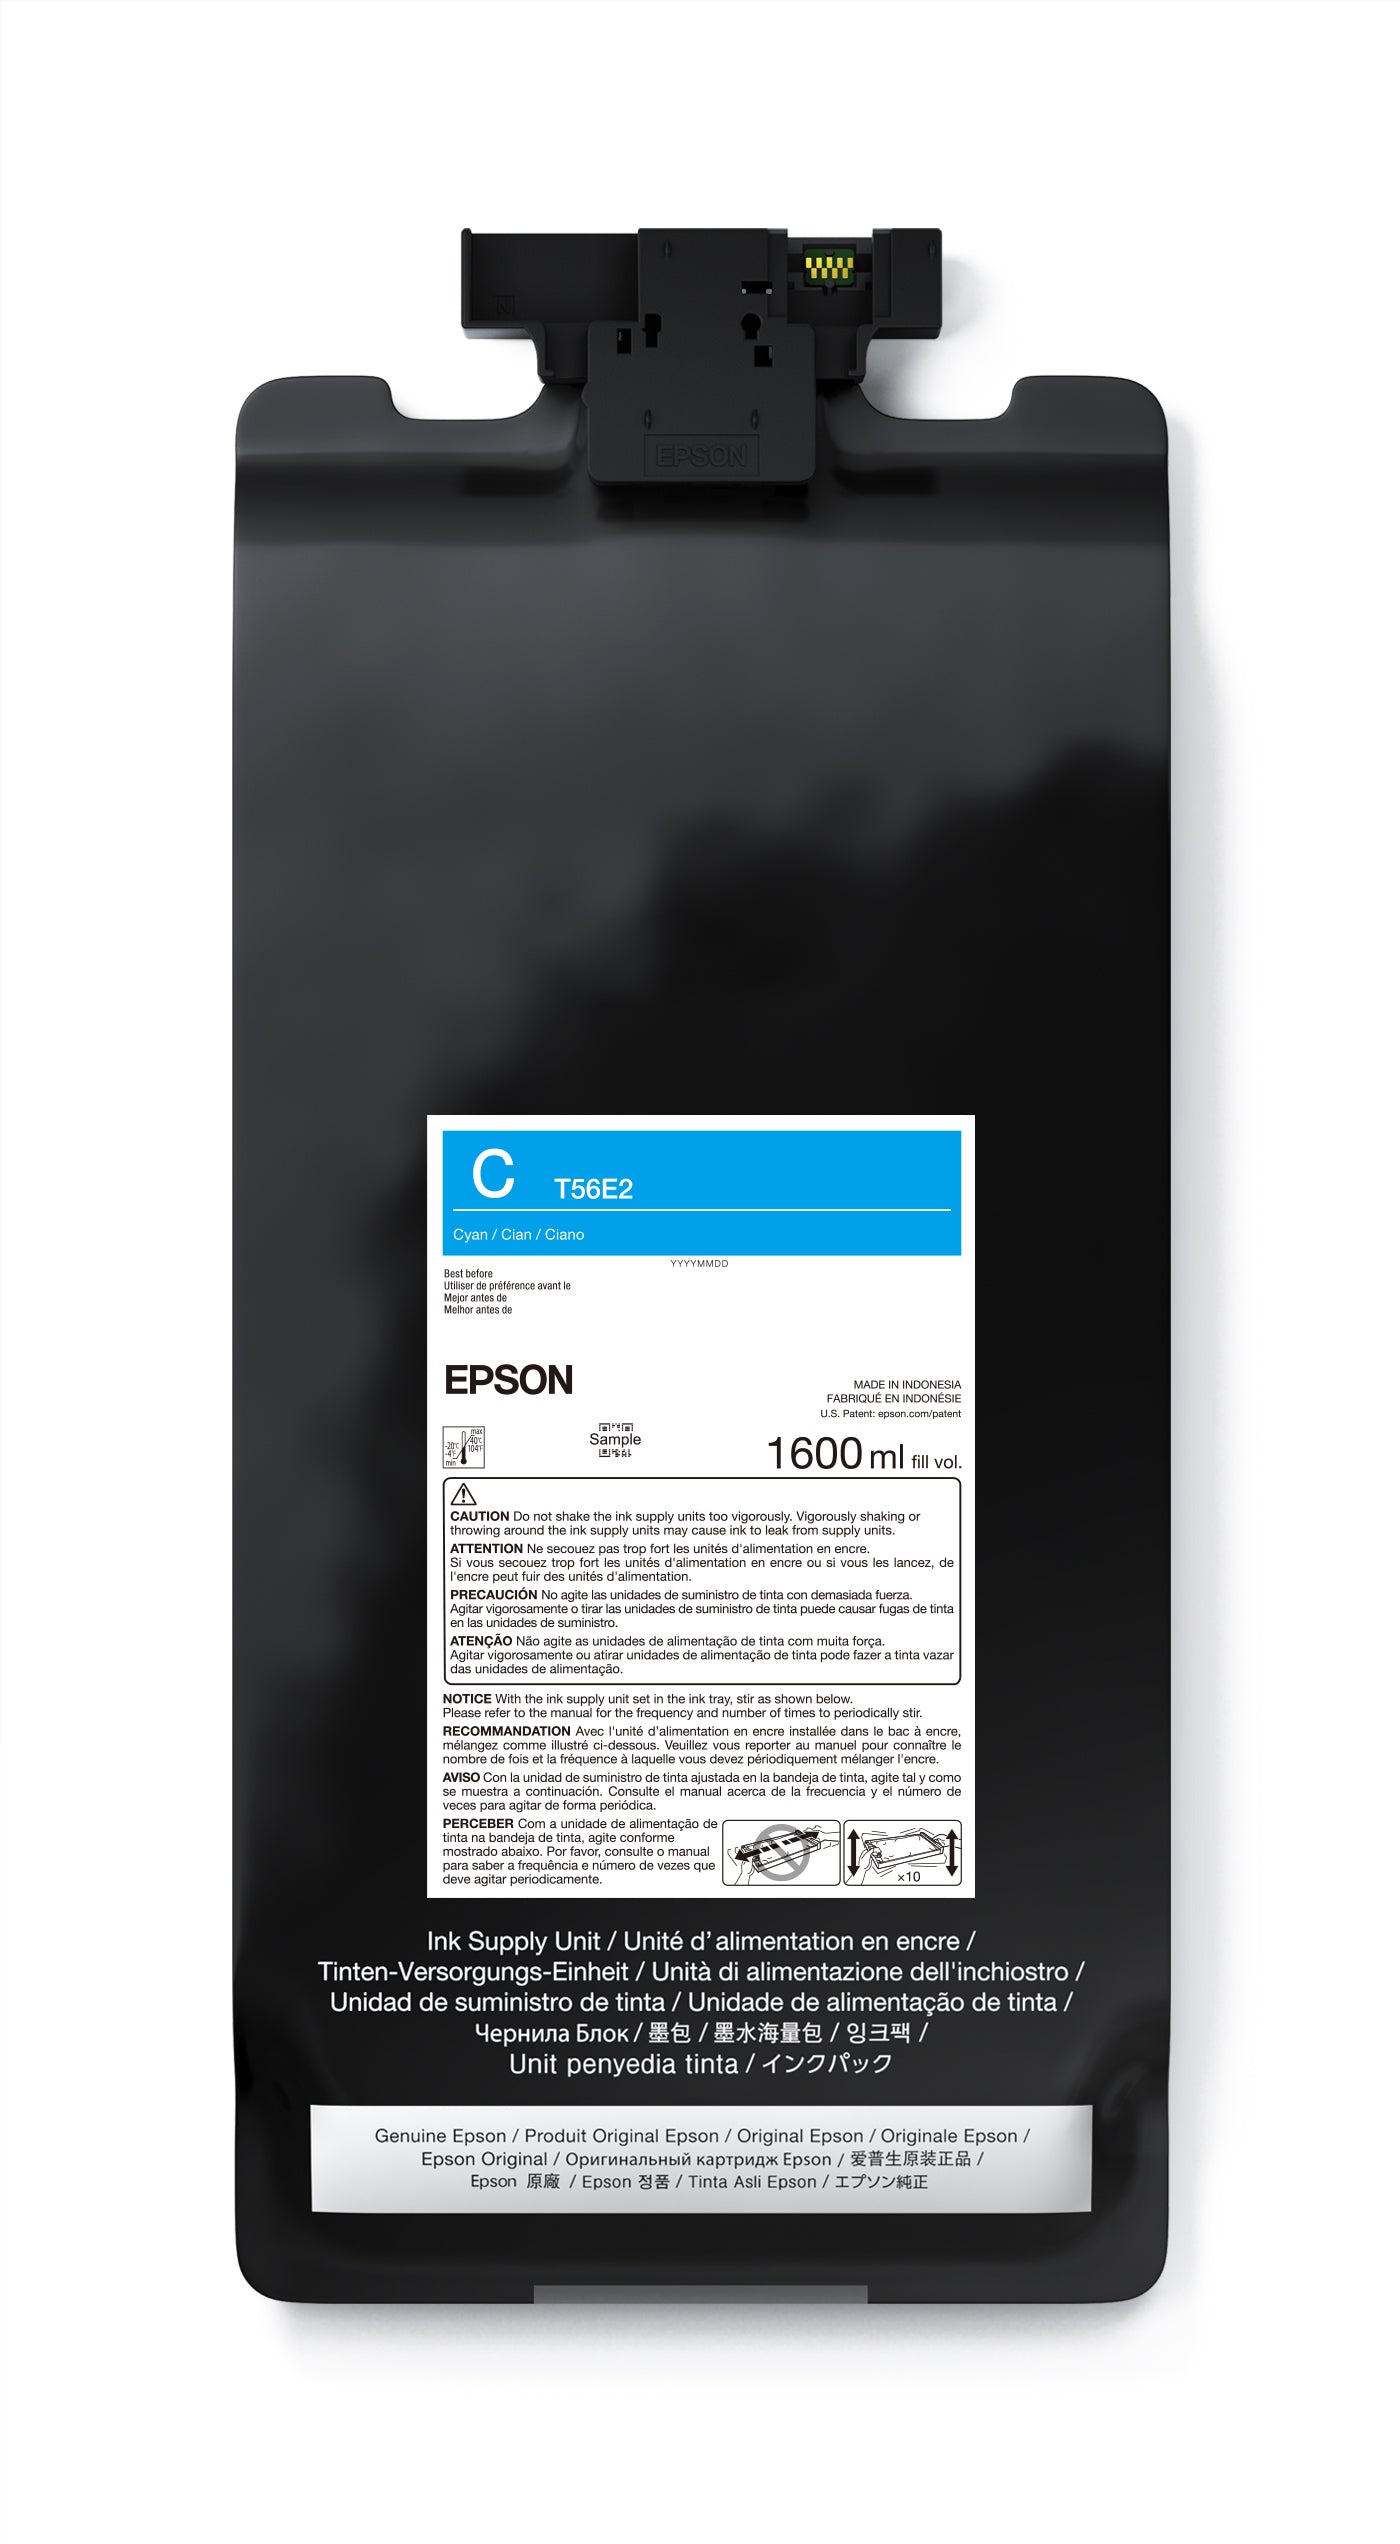
Epson UltraChrome PRO12 Inks | For SureColor P20570
Cyan / 1600ml
$554.00


