


The xTool P3 Honeycomb Panel is an official accessory designed to improve cutting quality, airflow, and stability when using the xTool P3 80W CO2 Laser Cutter. The honeycomb structure allows smoke and heat to pass through the material, reducing burn marks and delivering cleaner engraving and cutting results.
This lightweight aluminum panel installs directly into the P3 work area and supports a wide range of materials including wood, acrylic, leather, rubber, paper, and more. The panel also helps prevent back reflection during cutting, protecting both your material and your machine.
Why Use a Honeycomb Panel?
- Improves airflow under the material
- Reduces scorching and burn marks
- Supports thin or flexible materials
- Helps prevent laser reflection damage
- Provides stable and level cutting surface
Designed for xTool P3
This honeycomb panel is built specifically for the xTool P3 laser work area and installs easily inside the machine without modification.
Compatible with:
xTool P3 80W CO2 Laser Cutter
What's Included
- 1 × xTool P3 Honeycomb Panel
- Material Pins
- Cleaning Brush
- User Manual
For technical usage instructions and installation details, see the below.
The xTool P3 Honeycomb Panel package includes the main panel along with useful accessories for setup and maintenance.
- 1 × Honeycomb Panel
- Material Pins
- Cleaning Brush
- User Manual
Honeycomb Panel
Material Pins
Cleaning Brush
User Manual
The xTool P3 Honeycomb Panel can be used in two main configurations depending on your workflow and material setup.
Scenario 1: Use the Honeycomb Panel with Slats
- Take out half of the slats from the device.
- Place the honeycomb panel into the machine.
Scenario 2: Use Two Honeycomb Panels
The second honeycomb panel is not included.
- Remove all slats from the device.
- Place one honeycomb panel in the machine.
- Place the second honeycomb panel beside it.
Use the included material pins to hold material in place during processing. This is especially helpful for lightweight or flexible materials.
Place the Material Pins
Set the material onto the honeycomb panel, then use four material pins to secure the corners.
Remove the Material Pins
Lift each pin using the ring pull to remove it safely after processing.
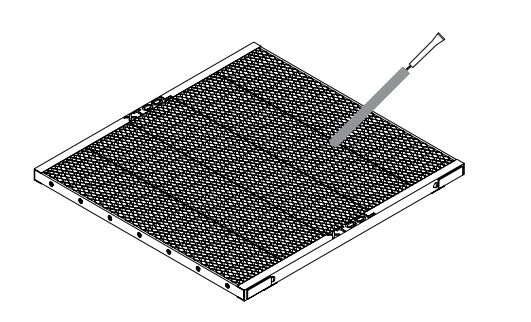
Residue can remain inside the honeycomb cells after cutting or engraving. For best processing results, remove the panel and clean it after each material run so debris does not affect future jobs.
The included cleaning brush can be used to clean the cells of the honeycomb panel.
- Handle the honeycomb panel carefully. Dropping or crashing it may deform the panel and affect distance measurement and processing quality.
- Do not place heavy objects on the panel. Excess load may deform it and reduce processing performance.
- The panel has a flatness tolerance of ±0.5 mm. Minor protrusions or low spots within this range do not affect normal function.
- Be careful when placing the panel and avoid finger contact with sharp edges.


[nerdy-form:16962]
YOUR CART
Free Same Day Shipping On All Supplies!
Loading...
Loading form...